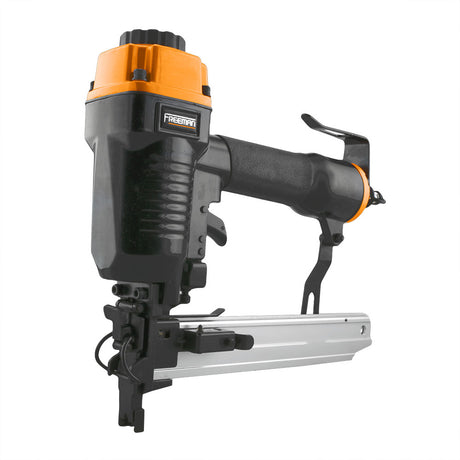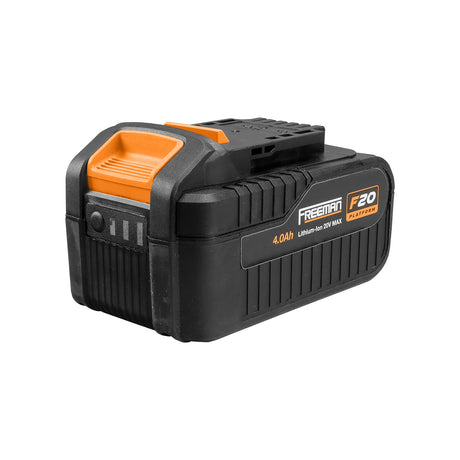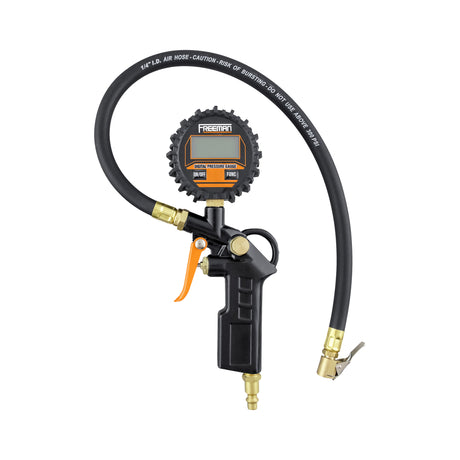

Building a freestanding wooden pergola is one of the most rewarding backyard upgrades you can tackle. It defines your outdoor living area, adds architectural beauty, and provides customizable shade for patio gatherings. While building a custom pergola may seem like an intimidating structural task, breaking it down into systematic steps turns it into a manageable weekend project. Below is your step-by-step DIY guide, complete with pro tips and high-performance Freeman Tools product recommendations to make your build smoother, faster, and built to last.
Tool & Material Checklist

|
Recommended Freeman Power Tools |
Materials
|
Step 1: Planning and Marking the Layout
Before picking up a saw or digging, proper site prep and compliance are crucial for a smooth build:
- Check Local Codes & Permits: Check your local municipal guidelines and HOA rules to see if your area requires a building permit, has height limits, or enforces set-back rules near property lines. Always call 811 to locate underground utility lines before digging.
- Measure and Mark the Layout: Measure and mark your four corner post locations using wooden stakes and mason's string lines.
- Square the Corners (3-4-5 Rule): To guarantee your perimeter is a perfect rectangle, measure the diagonal distance between opposite corners. Adjust the stakes until both diagonal measurements are exactly equal.
Step 2: Setting the Posts and Concrete Footings

A strong pergola relies on deep, stable concrete footings to resist wind uplift and settling over time.
-
Dig Post Holes: Dig holes for your corner posts below your area's local frost line (typically 2 to 4 feet deep and roughly 12 inches wide).
-
Pour Concrete & Set Anchors: Pour concrete into the holes and insert metal post base brackets (wet-set post anchors) directly into the wet concrete, making sure they align precisely with your string lines.
-
Allow Concrete to Cure: Let the concrete dry completely according to manufacturer instructions (at least 24 to 48 hours) before placing any heavy structural load on the brackets.
💡Pro Tip: Elevating wood posts slightly above ground level inside steel post brackets prevents water accumulation and ground moisture rot, extending your pergola’s life by decades.
Step 3: Installing Vertical Posts and Support Beams

With cured concrete footings, you are ready to construct the primary vertical frame and load-bearing beams.
-
Erect Vertical Posts: Stand your 4x4 or 6x6 vertical posts into the metal post bases. Use a spirit level on two adjacent sides to ensure each post is plumb (perfectly vertical), and temporarily brace them with scrap lumber.
-
Secure Fasteners: Fasten the posts tightly to the metal base hardware with heavy-duty structural bolts or lag screws.
-
Mount Main Beams: Lift the main side beams (typically 2x8 or 2x10 boards) across the top of the posts, clamp them securely, check for level, and fasten them using heavy-duty through-bolts or structural timber screws.
💡When setting up temporary structural bracing and building out beam assemblies, speed and driving power are key. The Freeman PFR2190 21-Degree Framing Nailer delivers flush-driven framing nails into pressure-treated lumber effortlessly, cutting down framing time significantly.
Step 4: Adding Rafters and Slats

The rafters define the overhead canopy and architectural style of your pergola.
-
Cut Rafters to Length: Cut your 2x6 roof rafters to length. For added flair, make decorative scroll cuts on the ends using a jigsaw.
-
Space Rafters Evenly: Use a wooden spacer block (e.g., 12" to 24" wide) to mark equal distances across the main support beams so your rafters stay neatly aligned.
-
Fasten Rafters to Beams: Secure the rafters down to the beams using exterior wood screws or metal hurricane ties.
-
Attach Top Shade Slats: Add 2x2 top slats perpendicularly across the rafters to finish the shade cover and lock the upper frame in place.
💡Tight angles between rafters and support beams make swinging a standard claw hammer awkward. The Freeman Compact Palm Nailer fits in the palm of your hand, driving joist hanger nails and metal hurricane ties in tight spaces within seconds.
For securing smaller 2x2 top shade slats without splitting thin lumber, the Freeman PFN64 16-Gauge Finish Nailer provides clean, split-free fastening with pinpoint depth control.
Step 5: Finishing & Maintenance Tips

• Sanding: Sand away rough edges or splinters on post corners and rafter tails.
• Stain & Water Sealant: Apply an exterior UV-resistant stain or clear water-repellent sealant to protect the timber against weather exposure, checking, and warping.
• Decking & Decor: Add string lights, climbing vines, or outdoor furniture to complete your new outdoor oasis.