
Installing a Floor-to-Ceiling Board & Batten Accent Wall is one of the highest-ROI interior upgrades you can tackle over a weekend. It transforms plain drywall into architectural millwork using basic stock lumber and cordless fastening. Whether you want to add character to a builder-grade bedroom, ground a dining space, or create a statement entryway, this classic geometric layout delivers rich texture and visual depth without requiring advanced woodworking skills. With precise planning, straightforward cuts, and modern finish tools, you can elevate your entire room's aesthetic in just a couple of days.
Project Breakdown & Tool Loadout
-
Difficulty: Beginner to Intermediate
-
Timeline: 1 to 2 days (including paint cure time)
-
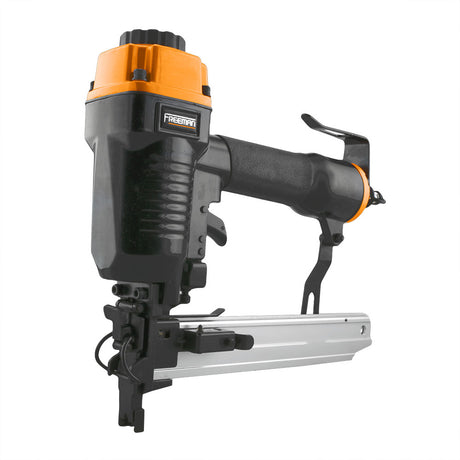
Freeman Tool Arsenal: (PE20V31618G) 20V Cordless 3-in-1 Finish Nailer / Stapler

Materials & Tools
-
Freeman PE20V31618G 20V Cordless 3-in-1 Finish Nailer / Stapler
-
1x3 or 1x4 Primed MDF boards / pine boards
-
Construction adhesive (e.g., Liquid Nails)
-
Wood filler & paintable acrylic caulk
-
4-foot level, tape measure, and stud finder
-
Miter saw
-
220-grit sanding block
-
Interior satin/eggshell paint and painting supplies

Step 1: Prep and Map Your Layout
Locate wall studs with a stud finder and mark them lightly with a pencil. Clear the wall of switch plates, repair any surface gouges, and apply a base coat of your chosen paint across the drywall.
Measurement Tips & Grid Calculation
-
Total Width Check: Measure wall width (W). Subtract the combined width of all vertical battens (N x board width). Divide the remaining width by the number of columns to find the exact horizontal spacing:
Spacing = W - (N x Board Width) ÷ Number of Columns
-
Uniform Grid Height Setup: To achieve equal, balanced panel heights across all rows, determine your top rail height first. Measure the total height of the accent wall area (H) and subtract the combined thickness of all horizontal rails (R x board width). Divide the remaining height equally by the total number of rows:
Row Height = H - (R x Board Width) ÷ Number of Rows
Use this single measurement to mark each horizontal rail position, ensuring every tier from top to bottom is completely identical.

Step 2: Install the Outer Frame & Horizontal Rails
-
Fasten the bottom base rail along the floor and the top cap rail at your desired ceiling line using your Freeman 18-Gauge Brad Nailer.
-
Measure and cut the full-length horizontal divider rails that separate the tiers.
-
Apply construction adhesive to the back of each board, level carefully with a 4-foot level, and nail directly into wall studs at a 45-degree opposing angle to lock the boards firmly against the drywall.

Step 3: Cut and Attach the Vertical Battens
-
Cut the outer perimeter vertical boards to fit snugly between top and bottom rails.
-
Cut the interior vertical grid pieces.
-
Pro Tip: Cut a scrap block of wood to your exact calculated panel width. Use this spacer block between vertical battens rather than re-measuring each gap to guarantee uniform spacing across the entire wall.
-
Apply adhesive, check for plumb with a vertical level, and secure each batten using the Freeman Brad Nailer.

Step 4: Fill, Caulk, and Paint
-
Fill all nail holes with wood filler; let dry and sand flush with a 220-grit sanding block.
-
Run a clean, thin bead of paintable caulk along every seam where the boards meet the drywall and outer joints. Smooth with a damp finger or caulk tool to ensure seamless lines.
-
Apply two coats of paint across the battens and inner wall sections with a high-density foam roller and angled sash brush or spray gun.
Once the final coat dries and you reinstall your outlet plates, step back and admire the transformation. A custom floor-to-ceiling grid turns an ordinary room into a polished, designer-worthy focal point. With the right layout calculation and a dependable nailer, you've completed a high-impact project that adds lasting value and timeless style to your home.